SC11 Dome Site Camera Install Guide
Summary
In this article, we will go through how to install your SC11 camera. Access all our downloadable datasheets and install guides here (search for “SC11): All Datasheets and Install Guides
Steps to Install
Each camera comes with a mounting plate and template, T10 Torx screwdriver and additional hardware for installation (see below). We recommend working with a Samsara install partner for the best plug and play experience.
Unbox your Camera
The box will contain your camera’s serial number and mac address. Please make sure to save this information.

What you will need for install
Connection to your SG01 | Power over Ethernet (PoE) switch, or a PoE injector | A smartphone or laptop |
A Phillips screwdriver or power drill with a Phillips driver bit | 3/16-inch (6.5mm) drill bit for wall plugs (Drywall) | 1-inch (25mm) spade bit for center hole if ethernet cable routed in wall. (Drywall, Wood) |
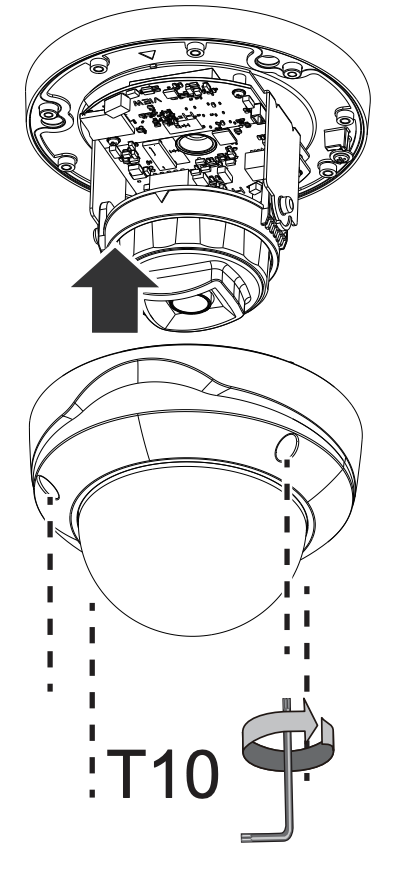
Begin Installation
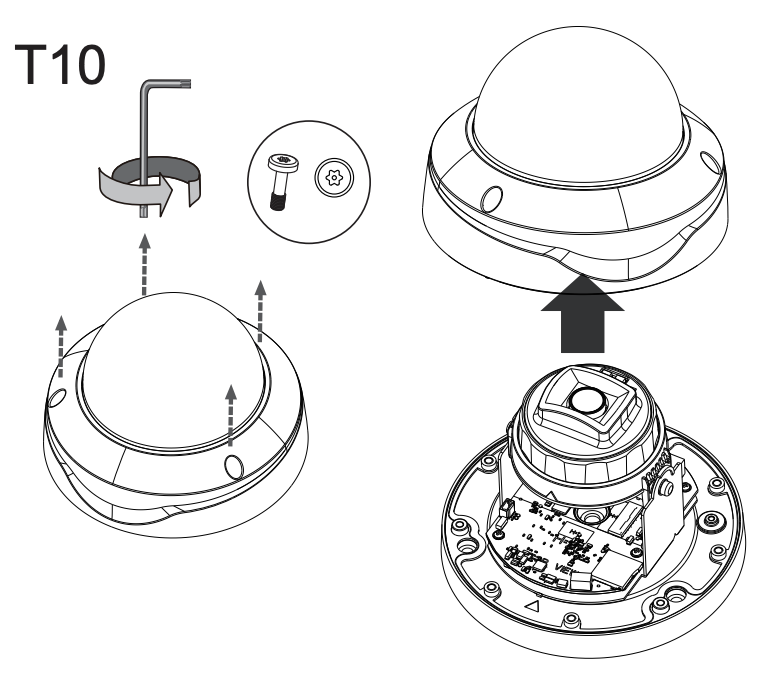
Use your T10 Torx screwdriver to loosen the screws and lift the case off.
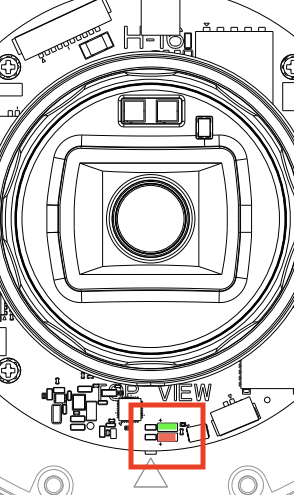
Connect your camera to the PoE network switch and verify the lights are on and the camera is getting power. If powered the red light will come on instantly, the green light will come on momentarily and flash on/off.
Mount your Camera
Using the mounting template, place template at desired location on wall or ceiling. Verify position of the holes on template so you will not be drilling into anything behind the wall/ceiling.
We recommend mounting the camera 8+ feet off the ground
Look out for any obstructions that may block the camera’s view
Adjust your Camera Angle
Adjust your camera to the desired angle.
Tilt Range 0 ~ 75°
Rotate Range (Aperture) 0 ~ 352°
Pan Range (Base) 0 ~ 352°
Aperture Orientation:
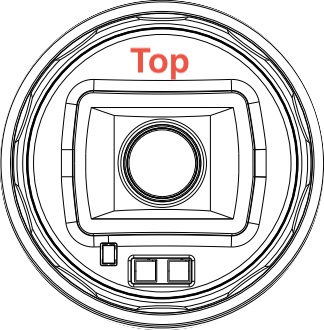
Note: IR sensors should be on the bottom of the camera.
Complete Install
Mount the case back on and secure it again using the T10 Torx screwdriver.
Now, set up the Cameras in the Cloud: Set up Devices in the Cloud