In this article, we will walk through how to schedule reports once created and add custom branding on reports.
Create Scheduled Reports
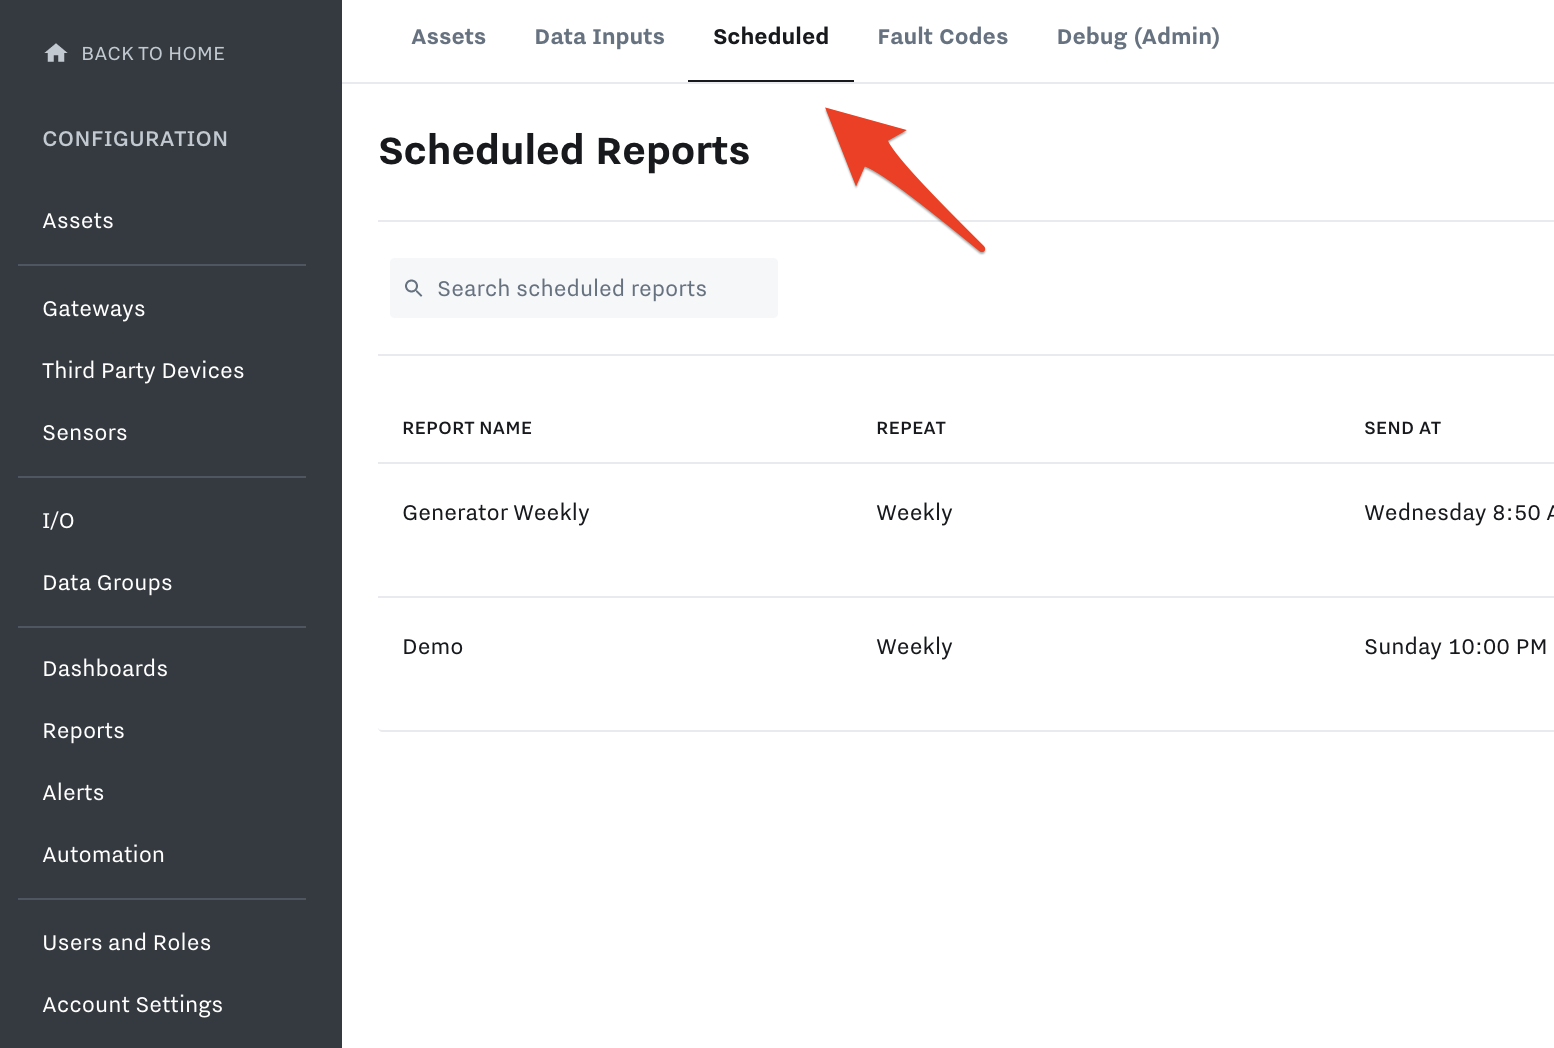
Once you set up a Report (Learn the basics here: Create Asset Reports ), navigate to the Scheduled tab.
Choose a name for your Scheduled Report – this will be the subject of the email that is sent to your inbox
Choose the filters that you want applied to the report – these can be any of the tags that you have configured for your organization
Choose the recipients that you want the report sent to – these recipients are pulled directly from your Alert Contacts
Choose the cadence for your report – all reports can be sent daily or weekly and some reports can be sent monthly or quarterly
Click Save
The report will now be sent directly to the inbox of your contact, containing the data in the email body as well as in an excel attachment.
Add Custom Branding to a Scheduled Report
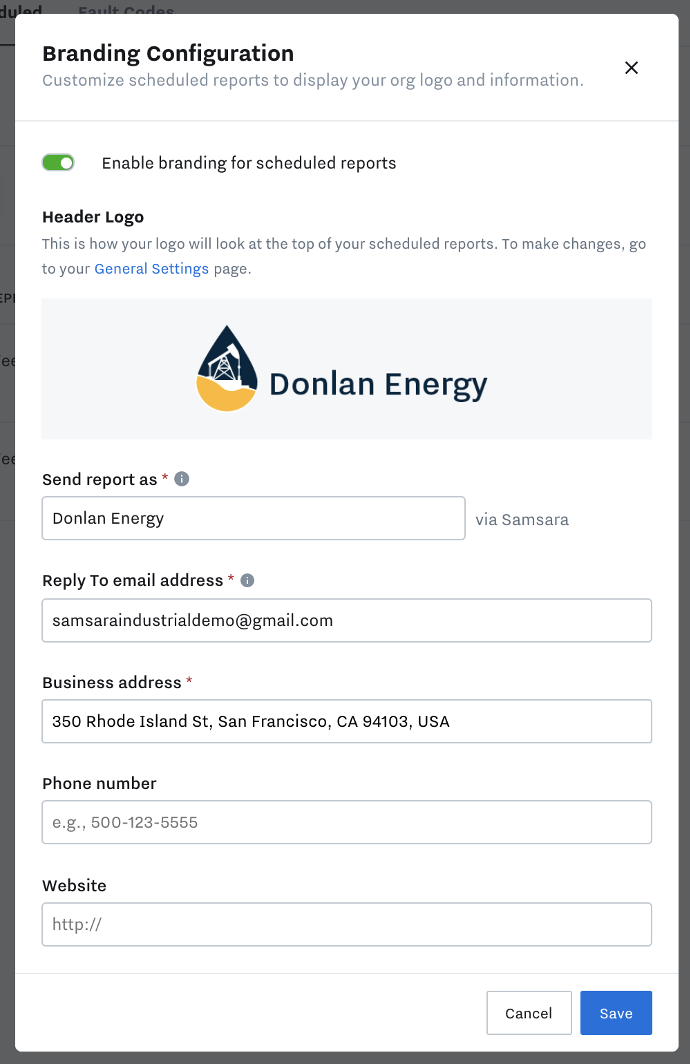
You can add your own company name, logo, address, website, phone number, and reply to email address if you are sending scheduled reports out to your own clients.
To set up custom branding, click on the gear icon in the right hand corner of the scheduled reports page.
Toggle the “Enable branding for scheduled reports” bar to turn on the functionality.
Customize your company name, logo, address, reply to email address and optionally add a phone number and website if you choose.