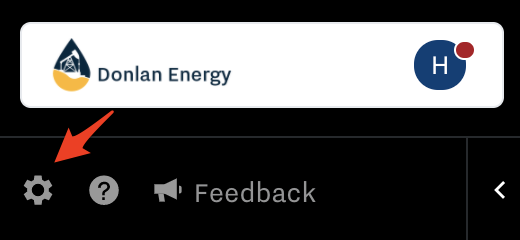
Once you log in for the first time, the first step should be setting up the general org settings and adding initial users. In this article, we will go through how to set up the General Settings page.
Go to Account Settings, then see all the Settings options:
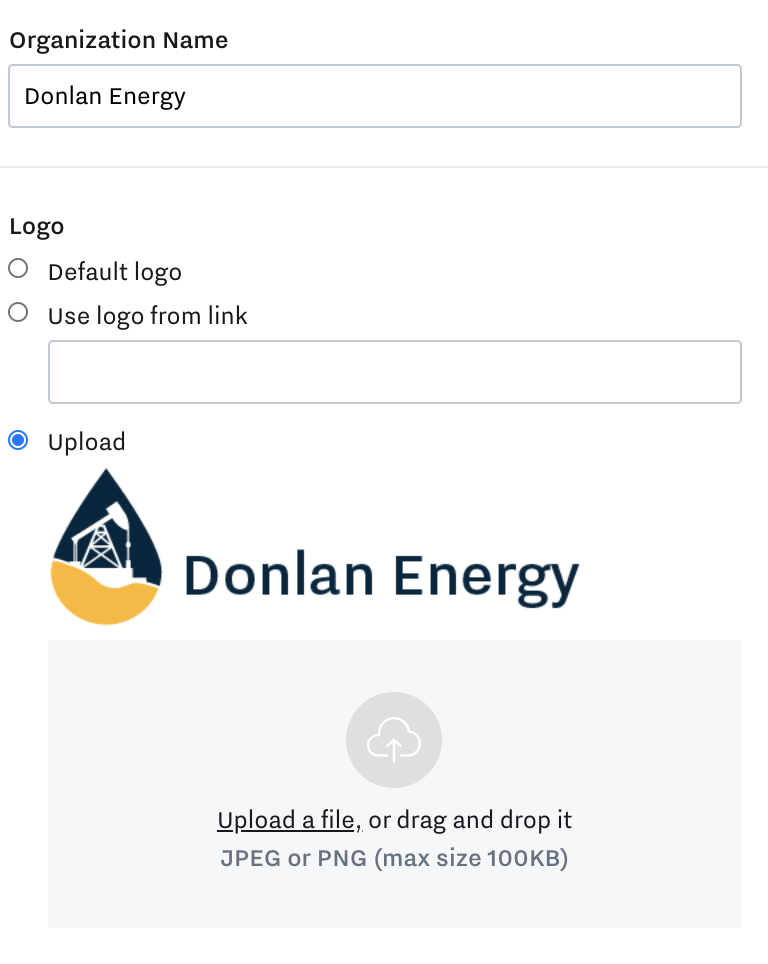
Set up all the sub-sections of the General Settings page:
Organization Information: set your org’s name, ID, and logo
Language and region: set the location, timezone, and language for the system.
Connection: If your site has WiFi connectivity, enable the WiFi by entering the necessary credential information.
Advanced: If you are a system administrator, it is important to ensure that the firmware is updated to the most current revision in the Advanced section of the admin controls. It’s also important to ensure that future upgrades to the device firmware are scheduled.
Activity Log
There is nothing to set up here. However, this is where Cloud Admins can look into to see who has accessed the Cloud organization (when and what they did). Read more here: Monitor Activity Log
Billing
Add in your billing information and access your invoices. Read more here: Track and Manage Billing